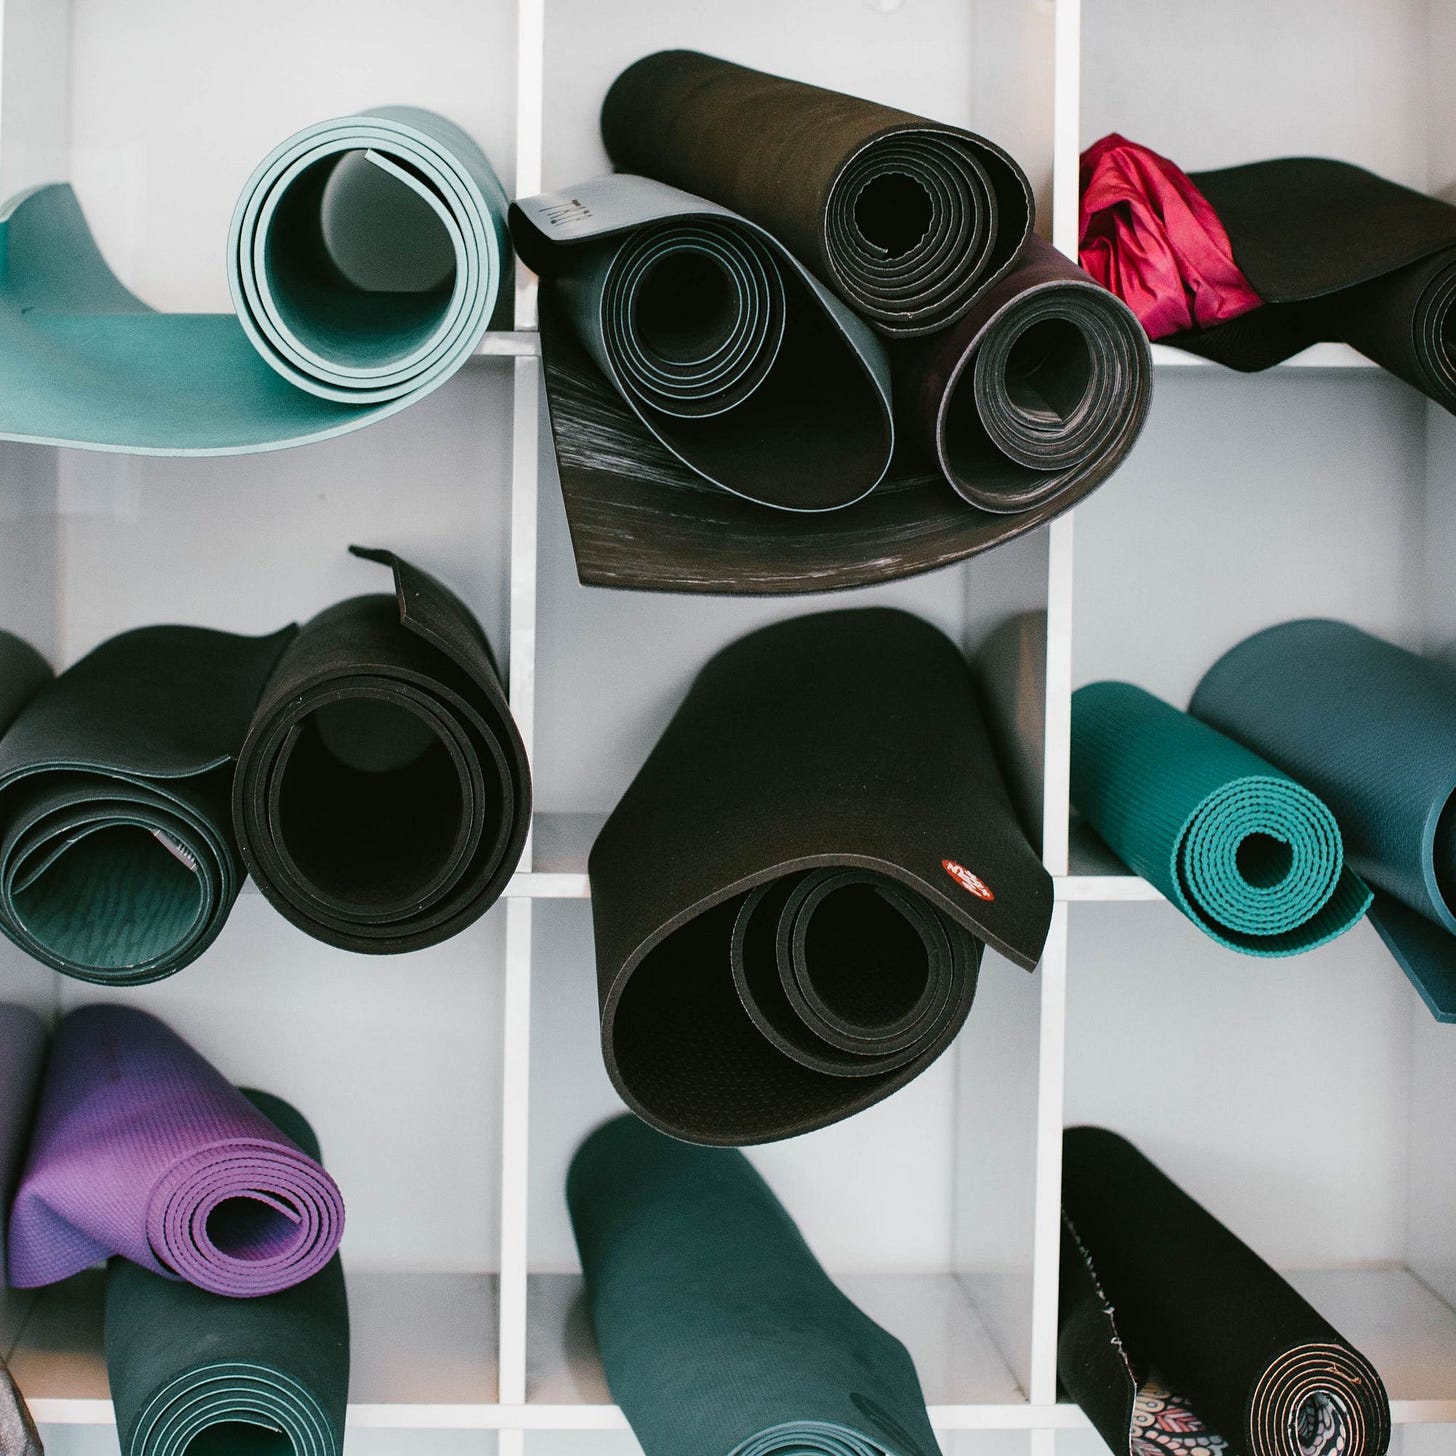
Yoga Roll or How to Take Care of Your Mat
Quel que soit ton caoutchouc chouchou, il y a une astuce pour enrouler ton tapis de yoga…
(English below)
Tu connais bien sûr l’histoire du tapis de yoga (en anglais.)
Tu es un.e yogi.ni confirmé.e, et tu as consciemment sélectionné ton tapis, peut-être en te servant du quiz de Manduka. Ou tapis, pluriel. Beaucoup de yogis en ont plusieurs : un pour pratiquer en salle ou chez soi, un autre pour les voyages…
Des tapis de yoga, il y en a pour tous les goûts:
Des épais pour ceux qui ont des articulations fragiles, des bien moelleux pour ceux qui aiment la sensation de pratiquer sur des chamallows… Il existe aussi de fines lamelles de caoutchouc pour ceux qui veulent faire du yoga sur la terre, à l’ancienne, mais ne veulent pas glisser partout (voir l’histoire du tapis de yoga ci-dessus. Merci Angela Farmer !)
Quel que soit ton caoutchouc chouchou, il y a quand même une astuce pour enrouler ton tapis et assurer qu’il soit bien plat pour ta pratique.
Step 1
D’abord, est-ce ton tapis a deux côté identiques, ou est-ce qu’il a un côté “yoga’ et un autre “sol?” Assure-toi que tu poses le côté “sol” sur le sol et que tu pratiques sur le côté “yoga.” Assez bête, hein, mais ça vaut quand même la peine de le dire parce que ce n’est pas toujours evident.
Step 2
Après ta pratique, retourne ton tapis pour que le côté sur lequel tu as fait du yoga est maintenant posé sur le sol. Flip it! Si tu es comme Guy Pearce dans Memento et que tu ne te souviens de rien, tatoue ton tapis avec ton prénom ou une gribouille ou un aide-mémoire. La personnalisation, rien de plus 21e siècle 😉
Step 3
A vos marques… prêts… roulez !
DREAM CLEAN
Si tu veux nettoyer ton tapis avant de l’enrouler, tu peux te servir d’un spray Manduka, ou bien concocter toi-même un spray DIY. Mélange un volume de vinaigre blanc à trois volumes d’eau, ajoute quelques gouttes d’huile essentielle d’arbre de thé, de Thieves ou de lavande. Et puisque tu fais la lessive, n’oublie pas tes pieds 😜
Of course you know the history of the yoga mat.
You are an experienced yogi/yogini, and you have conscientiously selected your mat, perhaps even taking Manduka’s quiz for Choosing A Yoga Mat. Or mats, plural. Many yogis have several: one or two for practicing in studios or at home, one for travel…
There are yoga mats for all tastes:
Thick ones for those whose joints are delicate, very soft ones for those who like the feeling of practicing on marshmallows, thin slivers of rubber for those who want to practice on the ground, old school, but don’t want to slide all over the place (see history of the yoga mat above. Thank you Angela Farmer!)
Whatever your preferred polyvinyl chloride, there is one trick for rolling your mat and ensuring that it is nice and flat for your practice.
Step 1
First, does your mat have two identical sides, or does your mat have a “yoga” side and a “floor” side? Be sure that you place the “floor” side on the floor and that you are practicing on the “yoga” side. Pretty dumb, right, but it’s worth repeating because it’s not always so obvious.
Step 2
After your practice, turn over your mat so that the side on which you were just doing yoga is now on the floor. Flip it! If you’re like Guy Pearce in Memento and that you can’t remember anything, tattoo your mat with your name or a scribble or a reminder. Customization, there is nothing more 21st century that that 😉
Step 3
On your marks… get set… get rolling!
DREAM CLEAN
If you’d like to clean your mat before rolling it up, you can use a store-bought spray (Manduka makes a nice one) or cook up your own. Mix one part white vinegar to three parts water, add a few drops of Tea Tree, Thieves blend or lavender essential oil. And since you’re in cleaning mode, don’t forget about your feet 😜


